PhotoCraft Tutorial: Make a Simple Layered Social Banner
Follow a practical PhotoCraft tutorial for a square social banner using shapes, editable text, adjustment layers, and a PNG export.
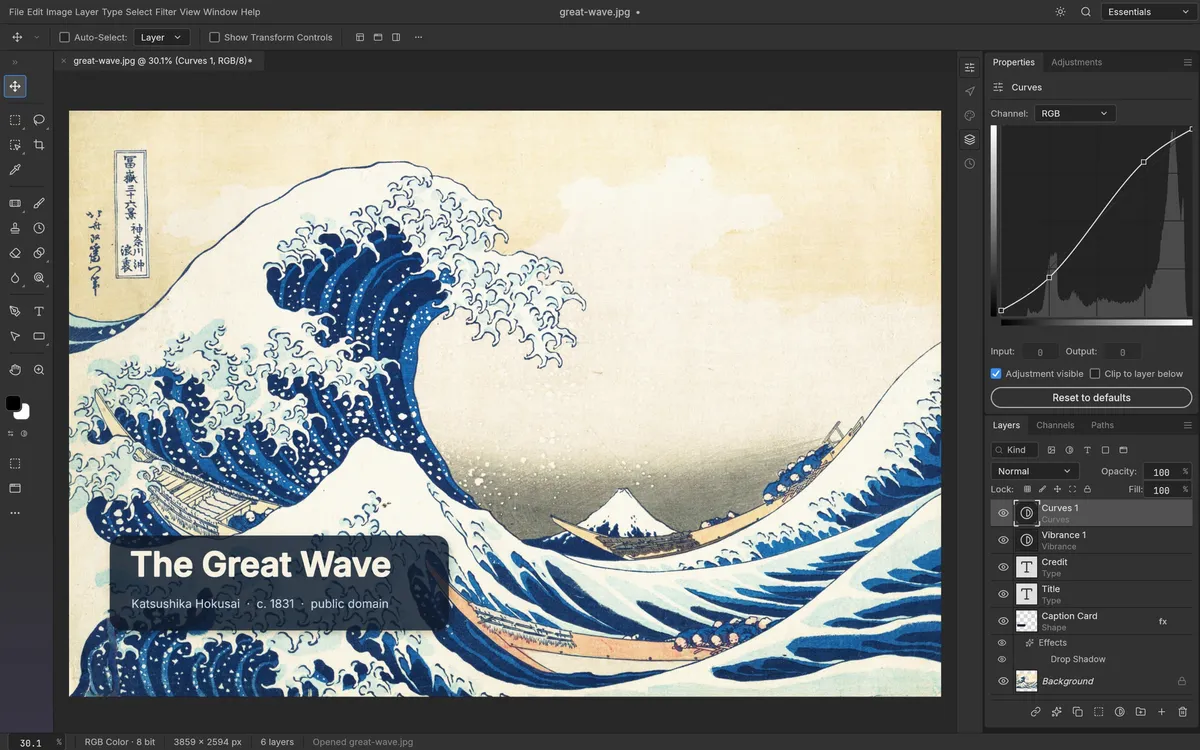
This PhotoCraft tutorial uses features listed in the project’s v0.6.0 documentation: shape layers, editable type, adjustments, and export. It does not depend on AI fill or background removal; the maintainers currently list generative AI as a gap. Menu names and supported export options can change, so check the official feature list if a control looks different in your build.
Set up the canvas
Create a new document and choose a square canvas, for example 1080 × 1080 pixels for a social post. That size is a design choice for this exercise, not a platform requirement. Add a background with a solid fill or gradient if the current build exposes the gradient controls in your selected tool. Keep the first version simple: one background, one graphic element, and a headline.
Build with separate layers
Add a shape layer—such as a rectangle, circle, or polygon—and choose a contrasting fill. Use the move or transform tools to place it. Add a text layer and keep the headline short enough to remain readable at phone size. PhotoCraft documents editable point and paragraph type and vector shape layers; available font choices depend on fonts installed in your environment.
If the image needs a color adjustment, add an adjustment layer and make a restrained change. Separate layers make it easier to revise the composition. Name the layers if the panel offers that action, and check the design with each layer temporarily hidden so you understand how the stack contributes to the result.
Export and review
Save a working copy before export. Choose PNG when transparency or crisp text edges matter, or JPEG for a photographic background where a smaller file is useful. Reopen the exported image in a separate viewer and inspect it at the size people will see it. Check for clipped letters, low contrast, and unwanted transparent areas.
This tutorial is a source-based walkthrough, not a hands-on certification of every control in v0.6.0. For your first session, see how to use PhotoCraft; for installation, use the download guide. The PhotoCraft AI guide explains which AI claims are not part of the current release.